How to Burn Test Candles: A Step-by-Step Guide for Small Makers
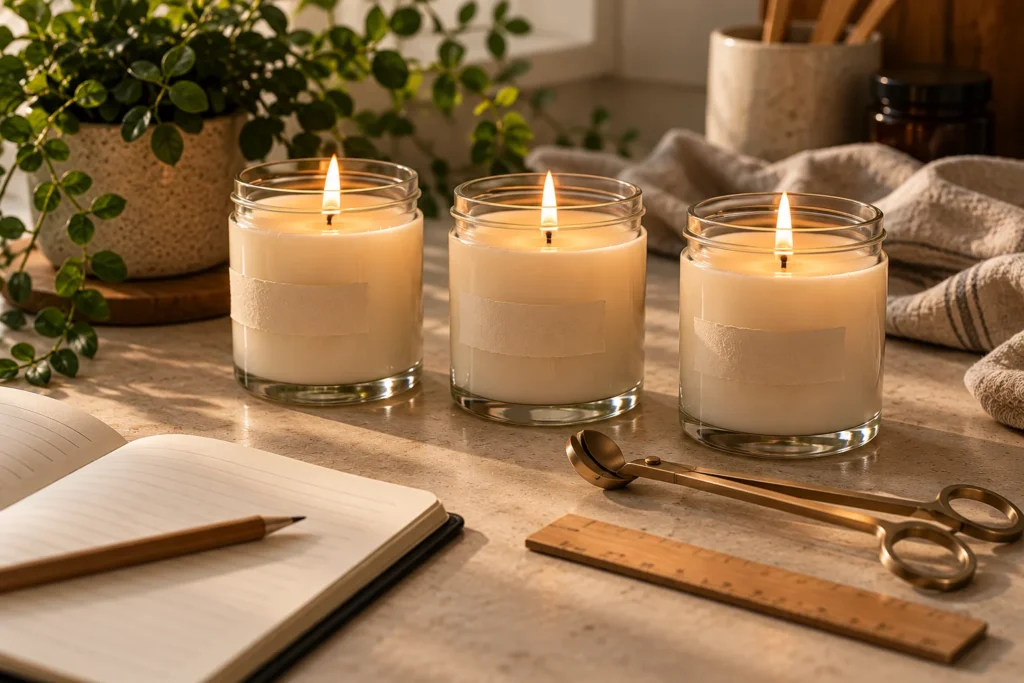
A candle can look perfect in the jar and still misbehave once it’s lit. The wick might tunnel straight down the middle, the flame might grow too tall halfway through, or the scent you loved on pouring day might barely reach the other side of the room. Knowing how to burn test candles is how you find those things out at home, long before a customer does.
It’s also one of the slower parts of candle making, since every round means waiting for the wax to cure and then burning each candle over several days. That time is well spent. In our guide to starting a candle business, testing is the very first step for a reason, and this article walks you through a simple candle burn test in plain language, with nothing more than a few test candles, a ruler and a notebook.
The short version: make two or three identical test candles and let them cure fully. Trim the wick to about ¼ inch, and on the first burn let the candle burn for one hour per inch of its diameter. After that, burn it for up to four hours at a time, check on it every hour and let it cool before relighting. Keep going until you reach the bottom of the jar, and only call the recipe ready once it burns cleanly from the first burn to the last.
What you’ll need
Burn testing doesn’t call for special equipment, and most of what you need is probably already on your worktable:
- Your test candles, fully cured and labeled
- A flat, heat-resistant surface, ideally with a tray or baking sheet underneath
- Wick trimmers or small scissors
- A ruler to measure the melted wax and the flame
- A timer, or simply your phone
- A notebook or printed log to write down what you see
- Your phone’s camera for quick photos along the way
A kitchen scale comes in handy if you’d like to estimate burn time later on, but you can start without one. For the full list of tools and supplies with prices, see our guide to candle business start-up costs.
Before you start: let your candles cure
Wax keeps changing for a while after it sets, and the scent in particular needs time to settle into the candle. Testing too early can lead you to change a wick or a fragrance that would have been fine a few days later. Cure times depend on the wax you use, so treat the ranges below as general starting points and follow your wax supplier’s instructions when they differ.
| Wax type | Typical cure before testing |
|---|---|
| Soy wax | 1 to 2 weeks |
| Paraffin | 3 to 5 days |
| Coconut blends | Often just a few days |
| Soy and paraffin blends | Varies by product, so check the supplier’s guidance |
Writing the pour date on every test candle makes this easy to keep track of, especially once you have several rounds curing at the same time. If you’d rather keep it all digital, our Burn Test & Curing Log is a spreadsheet for Google Sheets and Excel that keeps the pour dates, cure times and burn notes for every test candle in one place.
Make a few test candles and change one thing at a time
A single candle can mislead you. The wick might sit slightly off center, or one jar might behave a little differently from the rest, so it helps to pour two or three identical candles for each version you want to test and burn them side by side.
The other golden rule of any candle burn test is to change only one thing at a time. If you switch the wick size and the amount of fragrance in the same round, you won’t know which of the two made the difference. An easy way to begin is to pour the wick size your supplier suggests for your jar, along with one size smaller and one size larger from the same wick series, keeping everything else exactly the same.
Label each candle on the bottom or with a piece of masking tape, noting the wax, fragrance and percentage, wick, jar and pour date, so nothing gets mixed up once they’re all lit.
Set up a safe spot for testing
You’ll be burning several candles for hours at a time, so it’s worth choosing the spot with a little care:
- A flat, stable, heat-resistant surface away from curtains, shelves and anything else that can catch fire. Fire safety experts recommend keeping candles at least 12 inches from anything that can burn.
- At least 3 inches between candles, so the flames don’t heat each other’s jars.
- No drafts from fans, air vents, open windows or busy doorways. Moving air makes flames flicker and smoke, which can make a perfectly good candle look like it has a problem.
- Out of reach of children and pets.
Most important of all, stay with your candles for the whole session. Test candles are, by definition, candles you don’t fully trust yet, so plan your testing for days when you’re at home and never leave them burning unattended.
How to burn test candles, step by step
1. Trim the wick
Before every burn, trim cotton wicks to about ¼ inch. Wood wicks are usually trimmed shorter, so follow the maker’s guidance for those. A wick left too long produces a bigger flame and more smoke than your recipe really would, which can send you in the wrong direction when you read the results.
2. Give the first burn enough time
The first burn sets the pattern for the rest of the candle’s life. The National Candle Association recommends burning a candle for about one hour per inch of its diameter the first time, so a candle 3 inches across gets roughly three hours. Stopping earlier can leave a ring of solid wax around the edge that the candle tends to follow on every burn afterward, and that’s how tunneling usually begins.
3. Check on it every hour
Set a timer and take a quick look each hour. You’re watching how far the melted wax (the melt pool) has spread, how tall and steady the flame is, whether there’s any smoke or soot, whether a small mushroom-shaped carbon ball is forming on the wick and how warm the jar is getting. Write it down every time, even when everything looks fine, because those notes become really useful a few burns later.
Want a ready-made log? The free Candle Business Starter Guide includes a printable burn test log, along with 10 more fillable worksheets and an 8-week plan.
4. Stop at four hours and let it cool
End each session after four hours at most. Longer burns can overheat the jar and make the wick mushroom, and they don’t reflect how your customers should be burning their candles either. The NCA suggests letting a candle cool for at least two hours before relighting it, and many makers simply wait until it’s completely cool, which in practice often means one burn a day.
5. Repeat all the way to the bottom
Keep relighting until about ½ inch of wax is left in the jar. This is where much of the useful information shows up, because candles tend to burn hotter as the flame gets closer to the bottom of the container. A wick that’s perfectly calm at the top can become too strong in the last few burns, and the only way to find out is to get there.
Two habits make the whole process easier. The first is not judging too early, since the melt pool often needs three or four burns to reach its full width. The second is never swapping the wick partway through a test, because a wick that has already burned through wax and fragrance behaves differently from a fresh one. If something needs to change, pour a new test candle and start again.
What a good candle burn test looks like
Every recipe behaves a little differently, but these are the signs most candle makers look for as the test goes on:
| What to check | Looks good | Needs a change |
|---|---|---|
| Melt pool width | Reaches the edge, or comes within about ¼ inch of it, after 3 to 4 hours | A thick ring of wax still clings to the walls after the fourth burn |
| Melt pool depth | Roughly ¼ to ½ inch | Much deeper than ½ inch |
| Flame | Steady and around 1 inch tall (up to 2 inches is fine) | Tall, jumpy or climbing past about 3 inches |
| Smoke and soot | An occasional wisp at most | Regular smoke or black marks building up on the glass |
| Wick | A small carbon buildup that stays upright | A large mushroom that droops or drops bits into the wax |
| Jar | Warm, and about the same from one burn to the next | Noticeably hotter as the candle burns lower |
If one candle out of three looks odd while the other two look fine, check for a simple cause first, such as an off-center wick or a draft, before changing the whole recipe.
What to change if something’s off
Most burn problems come down to a wick that’s one size too small or one size too big. Once your candle burn test has reached at least the fourth burn, you can use what you’ve seen to plan the next round:
| If you see… | Try this next |
|---|---|
| Tunneling, or wax left on the walls after several burns | A wick one size larger in the same series |
| A tall flame, frequent soot, a big mushroom or a very deep melt pool | A wick one size smaller |
| A jar that gets too hot in the last few burns | A wick one size smaller |
| Soot even though the melt pool looks right | Check for drafts first, then try a little less fragrance or a different fragrance oil |
| A weak scent while the candle burns | Give the next batch a longer cure, then review the wick size and fragrance amount |
In wider jars, roughly 4 inches across or more, a single wick may never reach the edges without burning too hot, and two or more wicks often work better. Whatever you adjust, make one change, pour new candles and run the test again. It can take a few rounds to get there, and that’s completely normal.
Testing the scent (hot throw)
Hot throw, meaning how well the scent fills a room while the candle burns, is easiest to judge once you’ve settled on the right wick. With several test candles burning in the same room, the scents blend together and it becomes hard to tell which candle is doing the work.
When you’re ready, light one candle on its own and let it burn for two to four hours. Start in a smaller room, like a bathroom or a bedroom with the door closed, and then try a larger space. Rather than sitting next to the candle, step out for a few minutes and walk back in, because your nose gets used to a scent surprisingly quickly, especially one you’ve been working with all day. Asking a friend or family member what they notice helps too.
It’s worth keeping your expectations realistic as well. A small candle won’t fill a large open living room, and soy candles often have a softer scent throw than paraffin ones. If the scent feels weak, try a longer cure on your next batch before changing anything else.
When is a candle ready to sell?
There’s no official number, but a sensible rule of thumb is that a recipe is ready once at least two or three identical candles have burned cleanly from the first burn to the last, with a full melt pool, a steady flame, no ongoing soot and a jar that stays in good shape all the way down.
From then on, a new candle burn test is worth running whenever you change something, whether that’s the wax, the wick, the jar, the fragrance or how much fragrance you use. Natural waxes can also vary a little from batch to batch, so many makers re-test their bestsellers once or twice a year.
It may feel like a lot of burning, but every test candle you finish now spares you refunds, disappointing reviews or a safety worry later on, and it gives you honest answers when customers ask how long your candles last.
Keep simple notes (and take photos)
Your notes don’t need to be fancy. For each test candle, write down the recipe (wax, fragrance and percentage, dye, wick and jar), the pour date and how long it cured. Then, for every burn, add the date, how long it burned, how wide and deep the melt pool got, how the flame looked and anything unusual you noticed.
A quick photo from above and from the side each hour helps a lot as well. Keep a ruler and the candle’s label in the frame and shoot from the same angle each time, so it’s easy to compare burns side by side later.
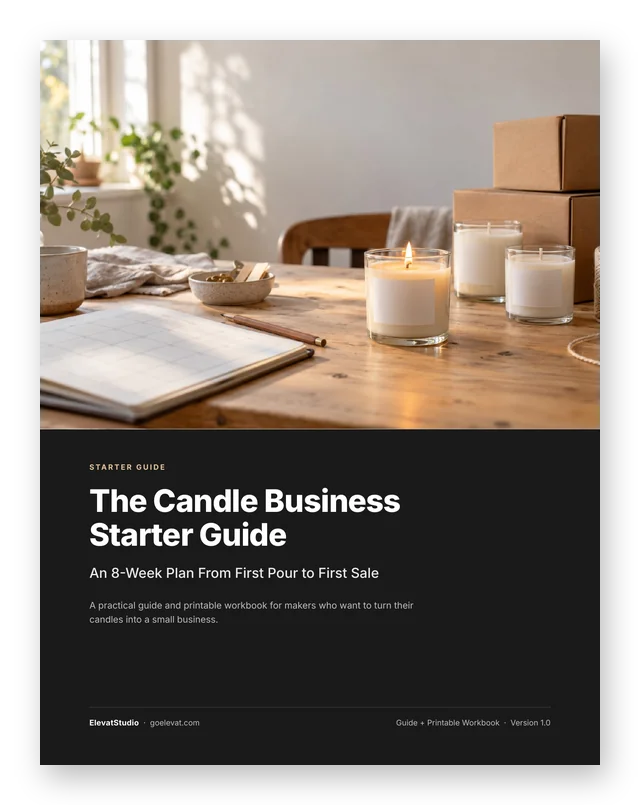
Free guide + printable workbook
The Candle Business Starter Guide
Put your testing into a bigger plan, from your first pour to your first sale. Inside the 37-page PDF:
- An 8-week action plan built around real cure and testing times
- 11 practical steps with clear checklists
- 11 fillable, printable worksheets, from a burn test log to a cost-per-candle sheet
Free. We’ll also send you practical tips for makers now and then. Unsubscribe anytime.
Frequently asked questions
How long should a candle cure before a burn test?
It depends on the wax. Soy wax usually needs one to two weeks, paraffin around three to five days and many coconut blends just a few days. Your supplier’s instructions are the best guide for the specific wax you’re using.
How long should I burn a test candle each time?
On the first burn, aim for about one hour per inch of the candle’s diameter. After that, burn it for up to four hours per session.
How long should a candle cool between burns?
At least two hours, although many makers wait until the candle is completely cool, which usually works out to one burn a day.
Can I burn test several candles at once?
Yes, as long as they’re at least 3 inches apart and you can keep an eye on all of them. When you’re judging scent, though, burn one candle at a time so the fragrances don’t mix.
Should the first burn reach the edge of the jar?
Ideally it gets close, but it’s normal for a little wax to cling to the walls during the first burn or two. What matters is that the melt pool reaches the edges by about the third or fourth burn.
Can I change the wick in the middle of a burn test?
It’s best not to. A wick that has already burned behaves differently from a new one, so pour a fresh test candle with the new wick instead.
Is a little soot normal?
An occasional wisp of smoke, especially when the flame is disturbed, is normal. Regular smoke or black marks building up on the glass usually mean the wick is too big, too long or sitting in a draft.
How do I figure out how long my candle will burn?
Weigh the whole candle before and after a four-hour burn. The difference is how much wax burned, and dividing it by four gives you the amount used per hour. Divide the candle’s starting wax weight by that hourly amount for an estimate of the total burn time. The first burn often runs a little differently, so averaging a few burns gives you a more reliable number.
Learning how to burn test candles is slow on purpose. Each round teaches you something about your wax, your wicks and your jars, and after a few recipes you’ll start to recognize what’s happening in the jar almost at a glance. Once you have a recipe you trust, the next step is making sure your price covers everything that went into it, test candles included, and our guide on how to price handmade candles walks you through exactly that. After that, our candle marketing guide covers 15 low-cost ways to get your tested candles in front of buyers.